How to Ride a Flying Change
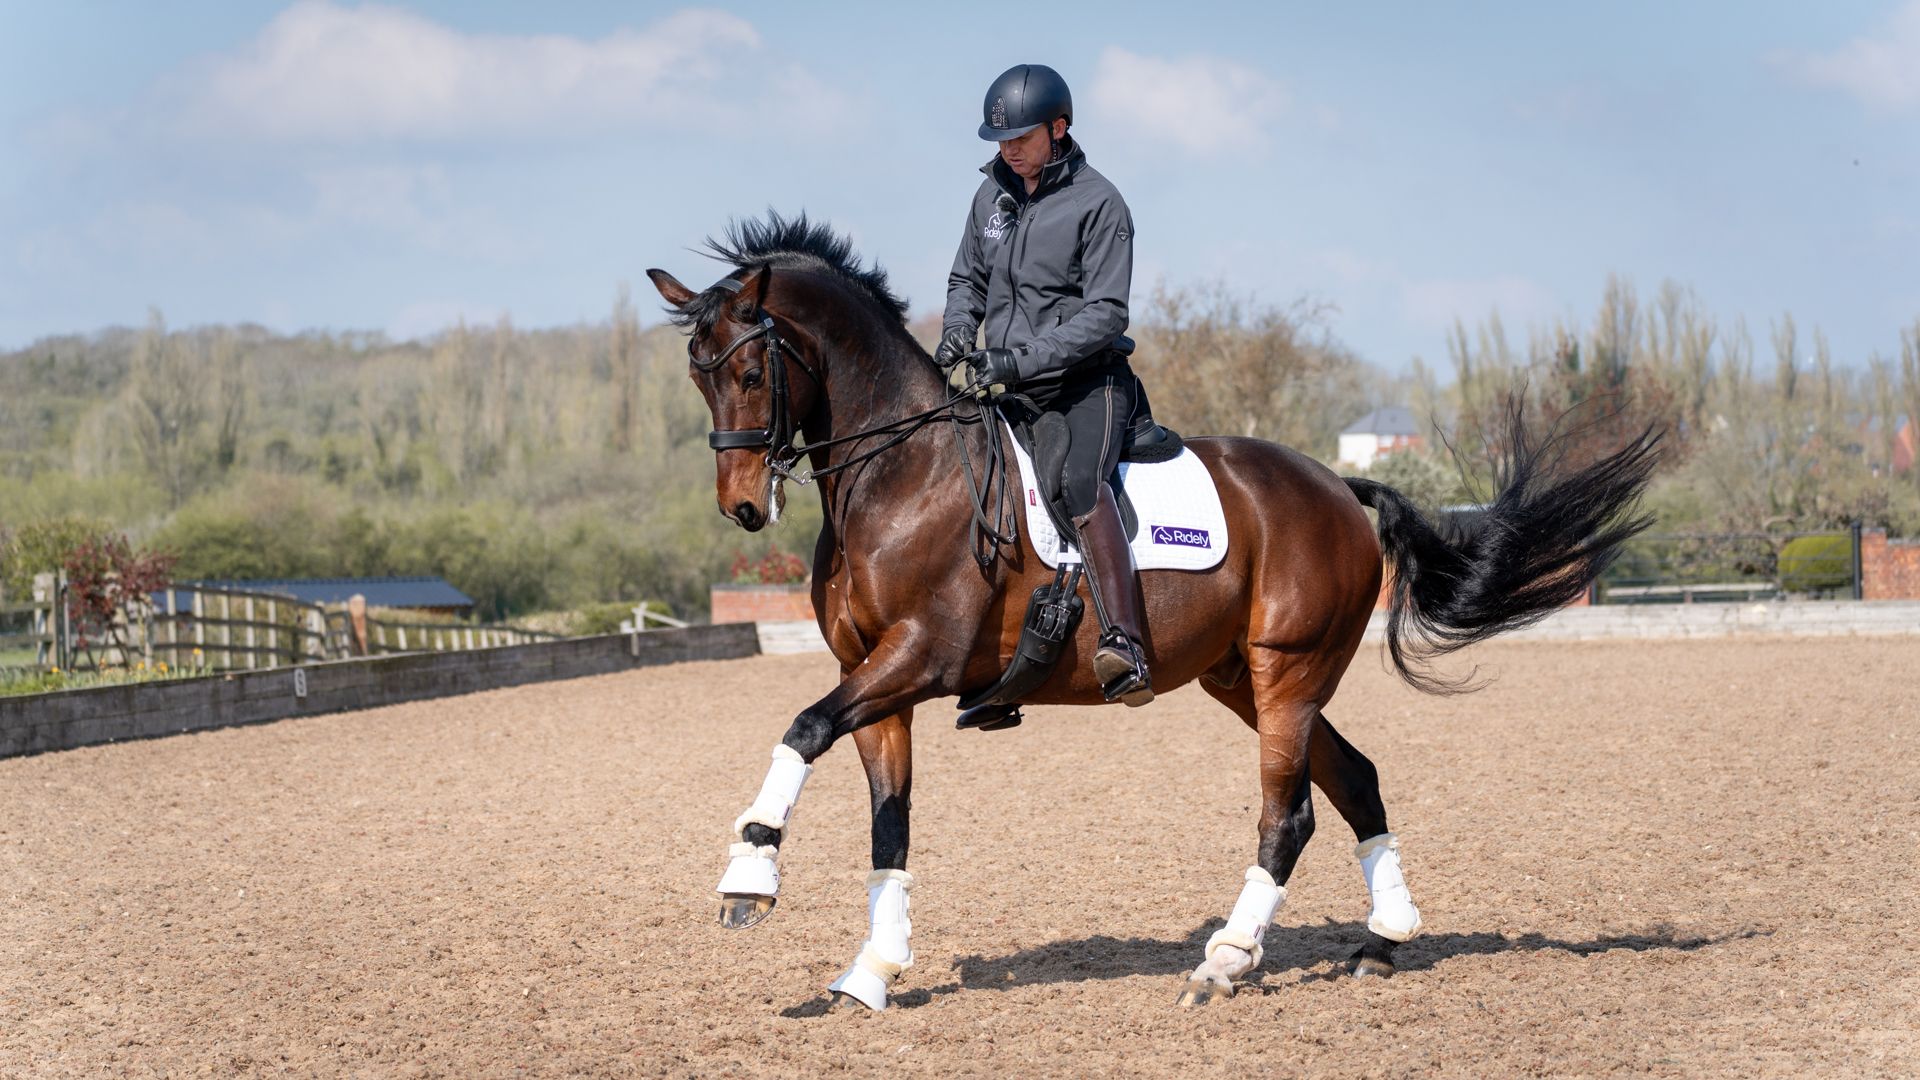
Flying changes are when the horse changes the canter lead without breaking the canter, they change legs during a moment of suspension in the pace.
In this article, you’ll learn everything you need to know about the aids for a flying change. This will include a breakdown of where to put your legs, how to set them up and how to get the timing correct.
Using Basic Transition Aids for Flying Changes
If you think back to the aids for basic transitions, you’ll know the aids from trot to canter and from walk to canter. The aids for the flying change are the same – a canter aid. The only difference is that you must set up the canter for the aid rather than the walk or trot. The set up is crucial because it gives the horse a cue that something is coming. It would be unfair to canter along and then put the aid on expecting your horse to know what is happening. You should set them up to let them know you’re about to ask something of them. In this case, you will collect the canter a little before asking for the change.
The Flying Change Aid – Step by Step
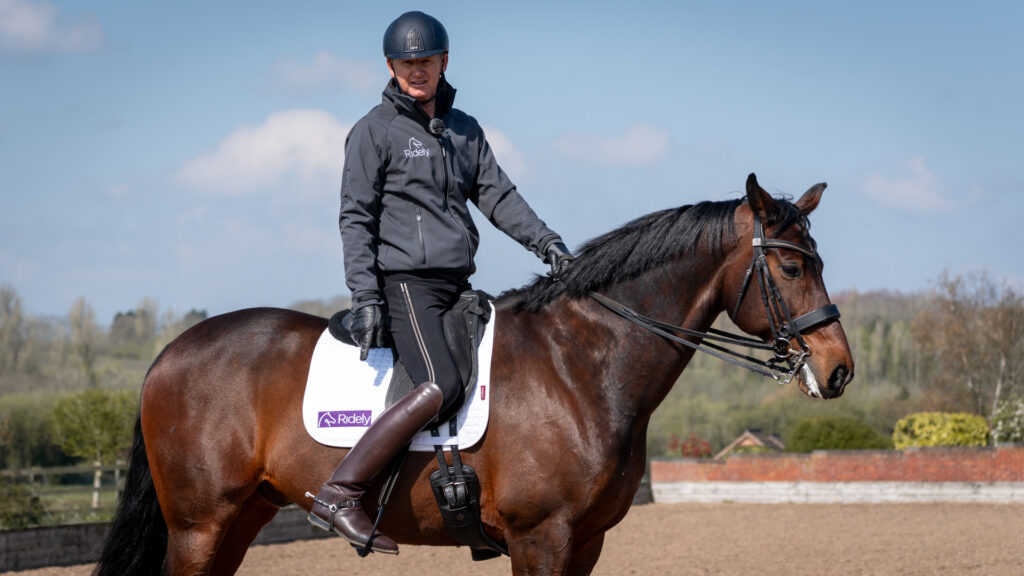
You can ask for a flying change using the following aids. For the sake of the explanation, picture cantering on the right lead and making a flying change to the left.
- When riding your right canter, think of placing your left leg subtly back to maintain the right canter position.
- To prepare for the change, sit up, straighten your horse and ask for a little collection.
- When you’re ready to ask for the change you will slide your right leg back and your left leg forward at the same time.
- Make sure you time this aid to happen when the horse is just about the leave the ground in the canter.
- If it helps, you can count down to the change to get the rhythm in the canter, think 3, 2, 1, change. On change, use the leg aids above.
Don’t worry if it takes some time to do them correctly! Flying changes always do take a long time when they’re completely new for either you or your horse.
There are plenty of other videos in Ridely, including a few with Carl Hester, if you need some more advice on how to ride them and what they should look like.
Want more Dressage Tips?
To see this all in action, along with many more dressage movements, check out Gareth Hughes’ Training Program “Mastering the Aids and Position” in Ridely.
Gareth Hughes’ Training Program Highlights
Learn all of this in Gareth’s comprehensive dressage training program:
- How to Establish a Correct Position: Learn the foundational principles of achieving the perfect riding position, the key to mastering dressage.
- How to Ride Basic Transitions: Discover the art of seamlessly transitioning between gaits and movements.
- How to Ride Leg Yield: Master the lateral movement that demonstrates your horse’s suppleness and your finesse as a rider.
- How to Ride and Sit to Medium Trot: Unlock the secrets of executing the medium trot, a display of control and power.
- How to Ride Rein Back: Perfect the rein back, an essential movement for a lot of dressage programs.
- How to Ride Shoulder In: Explore the intricacies of the shoulder-in, a hallmark of dressage finesse.
- How to Ride Trot Half Pass: Learn the art of executing a half pass at the trot, a test of your horse’s and your own lateral abilities.
- How to Ride Canter Half Pass: Take your skills to the next level with the canter half pass.
- How to Ask for Flying Changes: Finally, demystify the flying changes – a movement that leaves audiences in awe.
Many of us know what different movements should look like, but how to ride them is another story! We asked Gareth to explain the specific aids for each movement.
Take advantage of the 7 day free trial to see how you like it!

- Train with 10+ Olympians from home.
- Learn and make the most of your equestrian life.

Learn from Carl Hester in Ridely!
Exclusive training videos with top trainers and riders like Carl Hester are available in the Ridely library. Don’t miss out!

